- Version: v1.4
- Date: 2022-02-14
- Author(s): LBI (Jakob Zenzmaier)
- Reviewer(s): LBI (Sema Colpan, Ingo Zechner)
1.1. Introduction
This manual is intended for the editing of shot boundaries detected by the automatic Shot Boundary Detection (SBD) tool that has been created by the VHH project. For the editing of shot types, please refer to the VHH-MMSI Manual: Editing Shot Type Classifications.
Definition and objective
“Shot” is defined as a number of consecutive frames without interruption and is bounded by a starting frame (In-point) as well as an ending frame (Out-point). “Shot boundaries” are the borders between the Out-point of a shot and the In-point of the following shot. The In-/Out-points are the result of cuts through in-camera editing (start/stop camera) or post-production film editing. Other than the content-based definitions of “scene” and “sequence”, the definition of “shot” is a purely technical definition.
The objective is to review and if necessary, revise the automatically detected shot boundaries to provide users with a precise shot-based segmentation of the film respectively video. In addition, verification and correction of automatically detected shot boundaries enhance the results of the automatic Shot Boundary Detection (SBD) by providing metadata for retraining.
1.2. Steps
Login
- Go to https://www.vhh-mmsi.eu and login by using your VHH-MMSI access credentials.
Search films/videos
- Main Menu: Select “Objects”.
- Search bar: Type in or copy & paste file name of video OR VHH Identifier of video. (Note: search is performed across all attributes (= all data fields) within “Objects”.)
- Alternatively: Browse videos by activating “Filters” and selecting “Media Type” “Moving image” (= restricts Search Results to Items that have a digital moving image attached).
View film/video
- Search Results: Select film/video by clicking on entry in “Search Results” list.
View film/video in Edit mode
- When the selected Item appears: Click on “Edit” (top right).
- In the Edit Mode Menu: Click on “Edit Shots”.
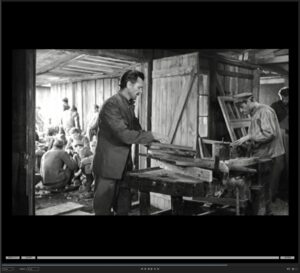
- Now the window is divided into 4 columns: Edit Mode Menu, Film Player, Filmstrip, and Shot List (f.l.t.r).
- Shot List (right side of window): Displays the automatically detected shots with their In-/Outpoints and their corresponding frames as thumbnails. While playing the film/video, the current frame within the shot is highlighted as a third thumbnail between the In-/Outpoints.
- Film Player (left side of window): Film Player displays the film/video.
- Filmstrip: displays the current frame (marked blue) within the video.
- Note: Film Player, Filmstrip and Shot List MUST display the same frame. If the Film Player displays a different frame than the frame selected in the Filmstrip, this must be corrected manually in the Film Player settings (gearwheel icon) using the “Increase/Decrease frame offset” function.
Edit Shots
- “Merge”: Click on “Merge” to join the upper and lower shot within the Shot List into one continuous shot.
- “Cut” (scissor icon): Click on “Cut” to separate the shot by setting a new In- or Outpoint.
- “Confirm” (padlock icon): Click on “Confirm Shot” to lock the shot for further editing (Hotkey: c).
- “Unconfirm” (padlock icon): Click on “Unconfirm Shot” to unlock the shot for further editing (Hotkey: [SHIFT] + c).
- “Publish”: Click on “Publish” to display the film/video together with the edited shots in “Media” (“Edit Mode”).
- “Delete” (garbage can icon): Click on “Delete” to delete a shot. After a shot has been deleted, a new shot can be created from the resulting gap (“Create Shot from Gap”).
- Dropdown Menu (lines icon, top right)
- “Jump to first gap”: Film player, Filmstrip and Shot List jump to first gap within the Shot List.
- “Jump to first unconfirmed shot”: Film player, Filmstrip and Shot List jump to first unconfirmed shot within the Shot List.
- “Jump to first unpublished shot”: Film player, Filmstrip and Shot List jump to first unpublished shot within the Shot List.
- “Confirm all shots”: locks all shots in Shot List for further editing.
- “Unconfirm all shots”: Unlocks all shots in Shot List for further editing
- “Publish all shots”: displays the film/video together with all shots in “Media” (“Edit Mode”).
- “Publish confirmed Shots”: displays the film/video together with all confirmed shots in “Media” (“Edit Mode”).
- “Unpublish all shots”: reverts all published shots to unpublished. They are no longer displayed in “Media” (“Edit Mode”).
- “Revert to Auto”: deletes all manual annotations within the Shot List and replaces them with the automatic annotations of the Video Analysis Tool. (Note: Be careful, preceding manual annotations cannot be restored.)
- “Clear List”: deletes all manual and all automatic annotations within the Shot List. Subsequently the Shot List is complete empty and must be annotated from scratch. (Note: Be careful, preceding manual annotations cannot be restored.)
1.3. VHH Shot Boundary Editing Convention
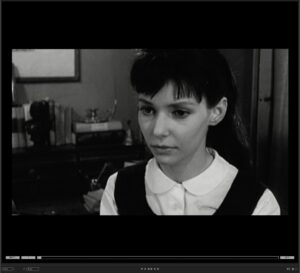
- Hard Cut: Sudden and extensive change. Shot boundaries: In-/Outpoints are set with first/last frame within the row of consecutive frames. (See Examples: Hard Cut)
- Gradual Transition: Gradual Transitions often remain undetected by the automatic Shot Boundary Detection (SBD) tool. As an exception to the rule, certain undetected gradual transitions must be manually separated from the previous and the subsequent shot and edited as if they were a separate shot containing elements from both the previous and the following shot. Shot boundaries: In-/Outpoints are set with the first/last visible frame of the transition.
Types of Gradual Transitions
- Dissolve: Transition whereby a Shot fades into another. This Transition is annotated as a separate shot.Shot boundaries: In-/Outpoints are set with the first/last visible frame of the overlay. (See Examples: Dissolve) (Note: Annotate “dissolve” in TBA Editor.)
- Fade-in: Transition from blank frames (black-/white frames). Preceding blank frames are part of the shot. Shot boundaries: In-point is set with the first blank frame, Out-point with the last frame of the subsequent visual content. (See Examples: Fade-in) (Note: Annotate “Fade-in” in TBA Editor.)
- Fade-out: Transition to blank frames (black-/white frames). Subsequent blank frames are part of the shot. Shot boundaries: In-point is set with the new visual content, Out-point with last blank frame. (See Examples: Fade-out) (Note: Annotate “Fade-out” in TBA Editor.)
Special cases and film irregularities
- Black-/White frame: Without transition (Fade-in/out) blank frames (black-/white frames) are edited as a single shot. Shot boundaries: In-/Outpoints are set with the first/last black-/white frame. (Note: Annotate “black frame” respectively “white frame” in TBA Editor.)
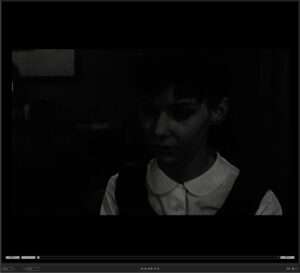
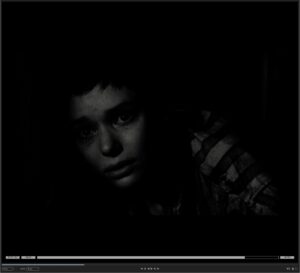
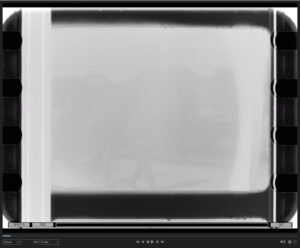
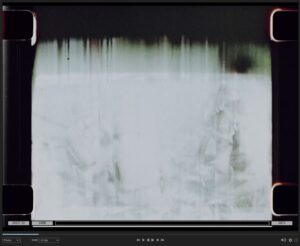
- Misexposure (Under-/Overexposure): Under-/Overexposed frames are assigned to the visually associated shot. They do not define distinct shot boundaries. (See Examples: Overexposure) (Note: Annotate “underexposure” respectively “overexposure” in TBA Editor.)
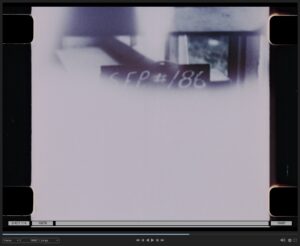
- Text: Text elements that appear within a shot are part of the shot. They do not define distinct shot boundaries. (See Examples: Text) (Note: Annotate “text”, or its specifications (“opening credits”, “intertitle”, “closing credits”, “slate/clapboard”) in TBA Editor.)
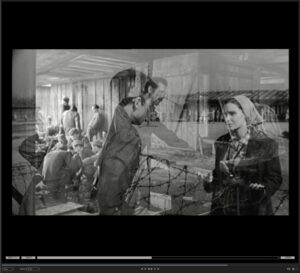
- Superimposition: Within a frame the visual content of two different frames of different shots is overlaid in transparency (not necessarily in a 50:50 ratio). If the video originates from a DVD, the superimposition may indicate a compression artefact and is assigned to the visually dominant shot. If the video originates from a film scan, the superimposition is edited as a separate Shot. (See Examples: Superimposition) (Note: Annotate “superimposition” in TBA Editor.)
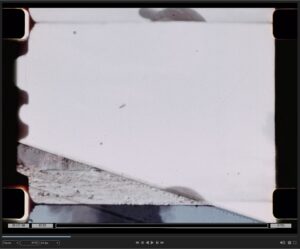
- Partial frame: Parts of the frame are strongly under-/overexposed (up to blank frames). Visual content can only be seen in partial areas of the frame. Partial frames are assigned to the visually associated shot. They do not define distinct shot boundaries. (See Examples: Partial frame) (Note: Annotate “partial frame” in TBA Editor.)
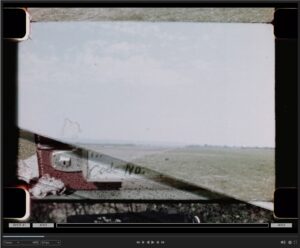
- Dual frame: The visual content of the frame is divided by a sharp, usually diagonal border through the frame. The frame is separated in two distinct subareas. If the dual frame includes visual contents from two different shots, the frame is assigned to the visually dominant shot. If the dual frame includes a blank frame and a frame with visual content, the frame is assigned to the shot with visual content. (See Examples: Dual frame) (Note: Annotate “dual frame” in TBA Editor.)
- Missing frame: One or more frames are missing in the row of consecutive frames within the shot. The absence of these frames causes a jump in movement and time, so that the film “jerks”. If the temporal “jump” is slight (one, or few missing frames), this does not indicate a shot boundary. If the temporal “jump” is substantial (several missing frames), resulting in a considerable change in the visual content, this indicates a shot boundary. (Note: Annotate “missing frame” via TBA Editor.)
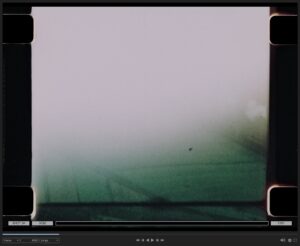
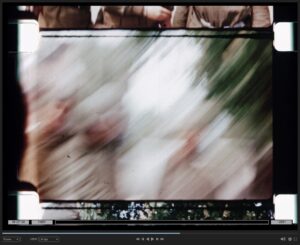
- Blurred image: Due to rapid camera movement or other technical reasons, the frame looks “blurry”. Blurred images do not define distinct shot boundaries. (See Examples: Blurred image) (Note: Annotate “blurred image” in TBA Editor.)
1.4. Appendix
Hotkeys Film Player / Shot Editor
[SPACE] Play forward/Stop:
[SHIFT] + [SPACE] Play backward/Stop
ÜÞ Seek next/previous frame
[SHIFT] + ÜÞ Seek next/previous shot
+ – Choose higher/lower framerate
j Focus frame/float/SMPTE/Time input
0 Set default frame rate
c Confirm shot
[SHIFT] + c Unconfirm shot
F Jump to first frame in current shot
L Jump to last frame in current shot
Examples
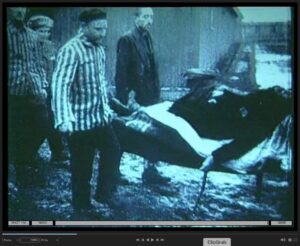
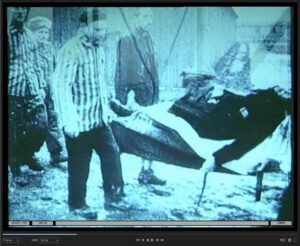
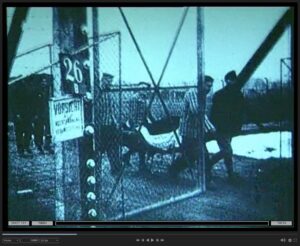
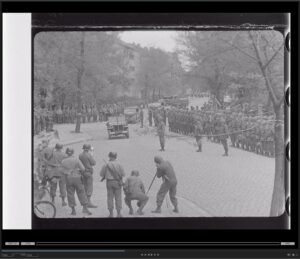
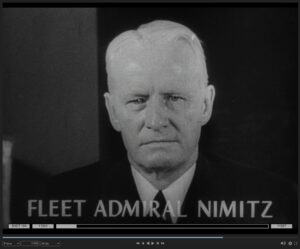
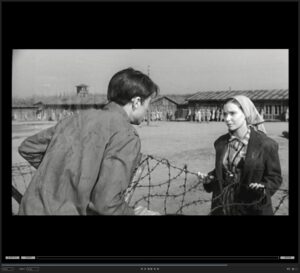
Hard Cut

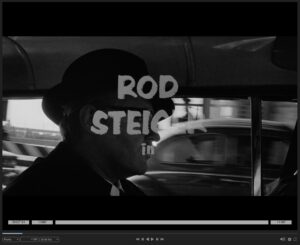
Text
Dissolve
Fade-in

Fade-out


Overexposure
Partial frame
Dual frame
Blurred image
Superimposition